# Raspberry Pi setup

<p class="callout info">Already done, if you wish to run a demo, skip to the next chapter</p>

<span data-preserver-spaces="true" style="color: #0e101a; background: transparent; margin-top: 0pt; margin-bottom: 0pt;">SD card preparation:</span>

- <span data-preserver-spaces="true" style="color: #0e101a; background: transparent; margin-top: 0pt; margin-bottom: 0pt;">Use</span>[<span data-preserver-spaces="true" style="color: #0e101a; background: transparent; margin-top: 0pt; margin-bottom: 0pt; ; color: #4a6ee0;"> Raspberry Pi Imager</span>](https://www.raspberrypi.com/software/)<span data-preserver-spaces="true" style="color: #0e101a; background: transparent; margin-top: 0pt; margin-bottom: 0pt;"> to flash the SD card with Raspberry Pi Buster OS (Do not use Bullseye OS)</span>
- <span data-preserver-spaces="true" style="color: #0e101a; background: transparent; margin-top: 0pt; margin-bottom: 0pt;">Within Raspberry, Pi Imager enable SSH, Wifi</span>
- <span data-preserver-spaces="true" style="color: #0e101a; background: transparent; margin-top: 0pt; margin-bottom: 0pt;">Raspberry pi user/pass: pi/test</span>

<span data-preserver-spaces="true" style="color: #0e101a; background: transparent; margin-top: 0pt; margin-bottom: 0pt;">OS preparation:</span>

- <span data-preserver-spaces="true" style="color: #0e101a; background: transparent; margin-top: 0pt; margin-bottom: 0pt;">Optional: use a USB hub to connect the wireless dongle, keyboard, and mouse to Raspberry Pi</span>
- <span data-preserver-spaces="true" style="color: #0e101a; background: transparent; margin-top: 0pt; margin-bottom: 0pt;">Connect display over an HDMI cable</span>
- <span data-preserver-spaces="true" style="color: #0e101a; background: transparent; margin-top: 0pt; margin-bottom: 0pt;">Make sure Raspberry pi is connected to the network</span>
- <span data-preserver-spaces="true" style="color: #0e101a; background: transparent; margin-top: 0pt; margin-bottom: 0pt;">Open terminal (SSH or on Desktop) and update OS: `sudo apt update` `sudo apt full-upgrade`</span>
- <span data-preserver-spaces="true" style="color: #0e101a; background: transparent; margin-top: 0pt; margin-bottom: 0pt;">And reboot `sudo reboot`</span>
- <span data-preserver-spaces="true" style="color: #0e101a; background: transparent; margin-top: 0pt; margin-bottom: 0pt;">Power off Raspberry Pi</span>
- <span data-preserver-spaces="true" style="color: #0e101a; background: transparent; margin-top: 0pt; margin-bottom: 0pt;">Wire control signals on the IO board like in the diagram below:</span>

[![CMIO-Cam-GPIO2.jpg](https://wiki.kurokesu.com/uploads/images/gallery/2022-06/scaled-1680-/cmio-cam-gpio2.jpg)
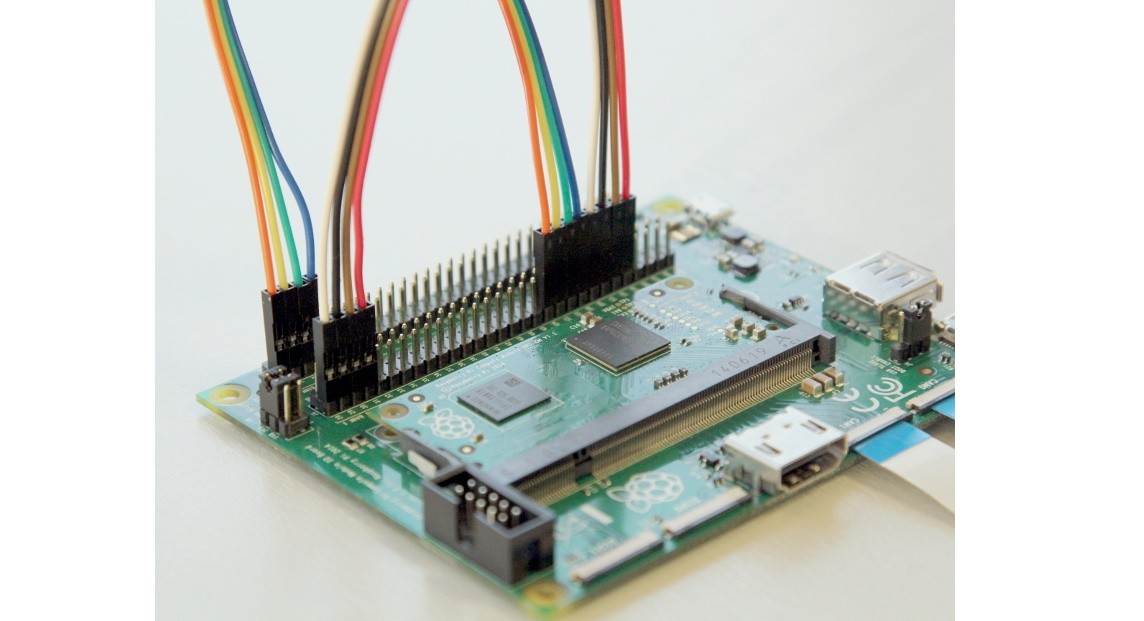
](https://wiki.kurokesu.com/uploads/images/gallery/2022-06/cmio-cam-gpio2.jpg)

- Connect to the Raspberry Pi terminal
- Run command `sudo raspi-config`
- Select menu Interface options / Camera and select ENABLE
- Do not restart when asked, exit configuration program
- Update blob configuration `sudo wget https://datasheets.raspberrypi.com/cmio/dt-blob-dualcam.bin -O /boot/dt-blob.bin`
- Now reboot with a command `sudo reboot`
- After Raspberry has rebooted, connect to the console and check if the camera is detected `vcgencmd get_camera`
- In order to test the video, run command `raspivid -f -k -awb greyworld -mm average -t 0`
- For more convenient behavior, add this command to `/etc/rc.local` - camera will start video on HDMI port right after reboot