This is archived post, see new version on new [platform](https://www.kurokesu.com/blog/how-to-install-cs-to-m12-adapter).
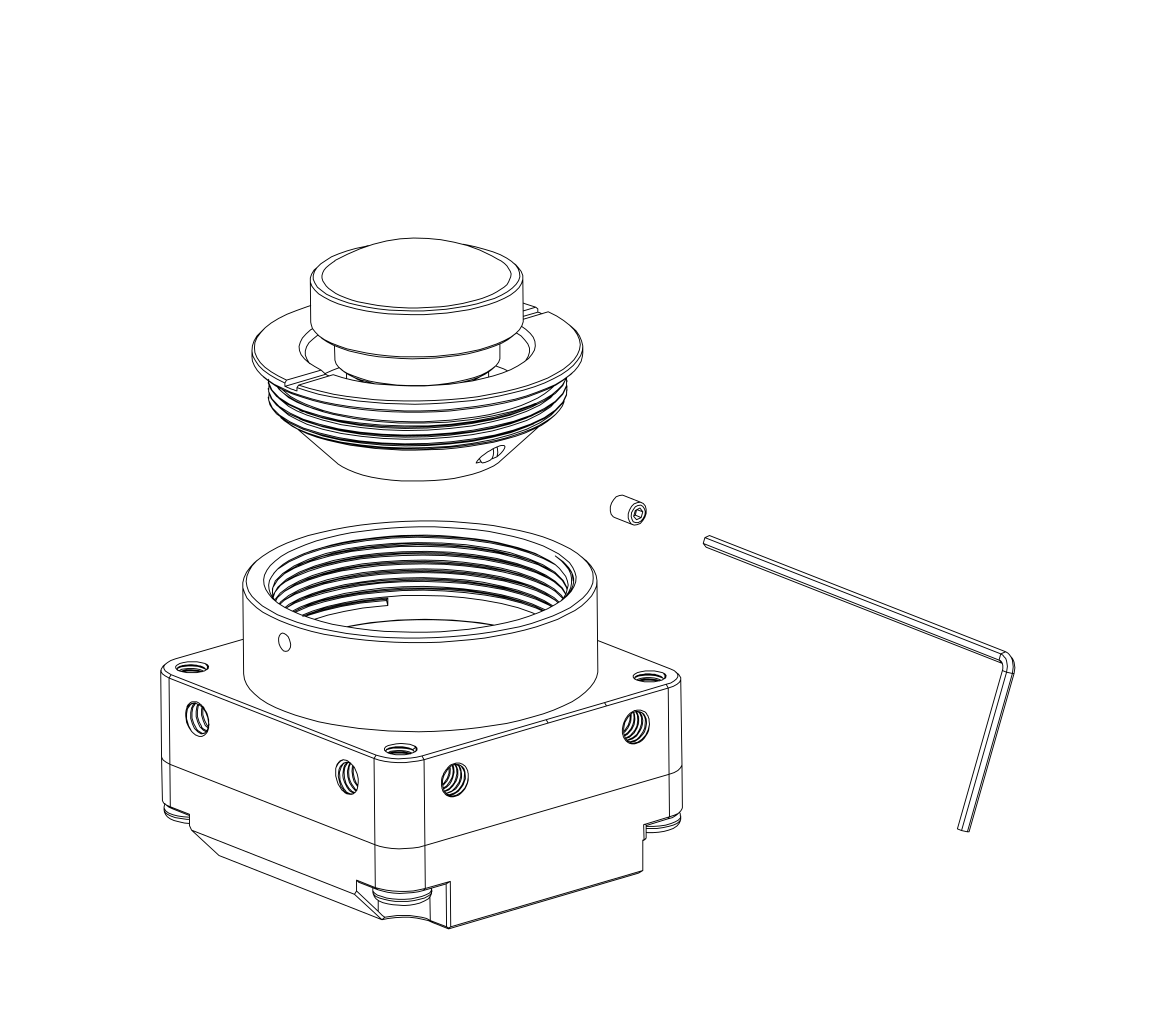
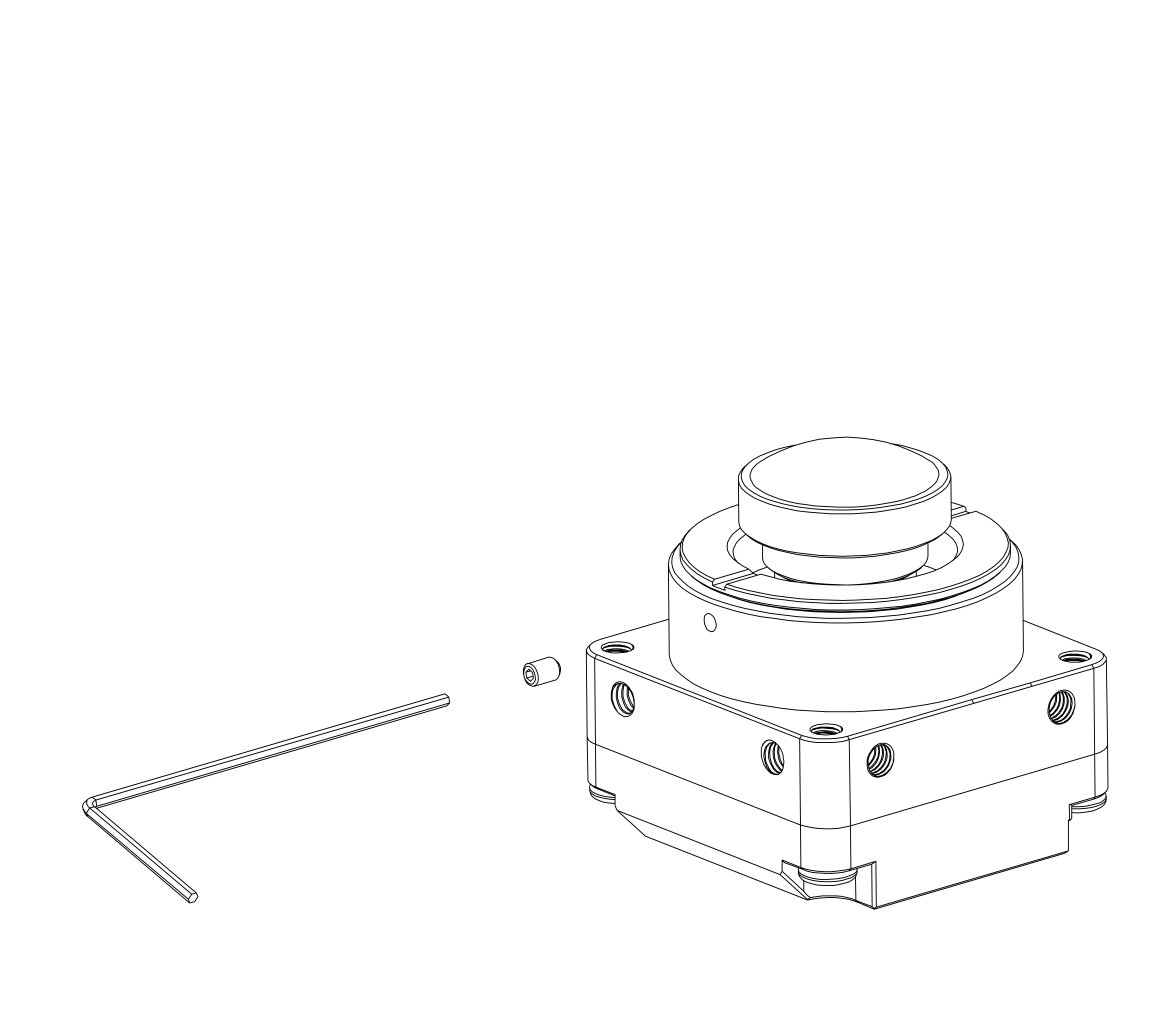
Low profile M12 to CS lens adapter [M12-TO-CS-ADAPTER](https://www.kurokesu.com/item/M12-TO-CS-ADAPTER) was designed for wide-angle and fisheye lenses. These lenses typically feature a compact design and have a short back focal distance. The installation, however, can be slightly tricky as access to the M12 set screw is restricted. Below is recommended installation steps:| [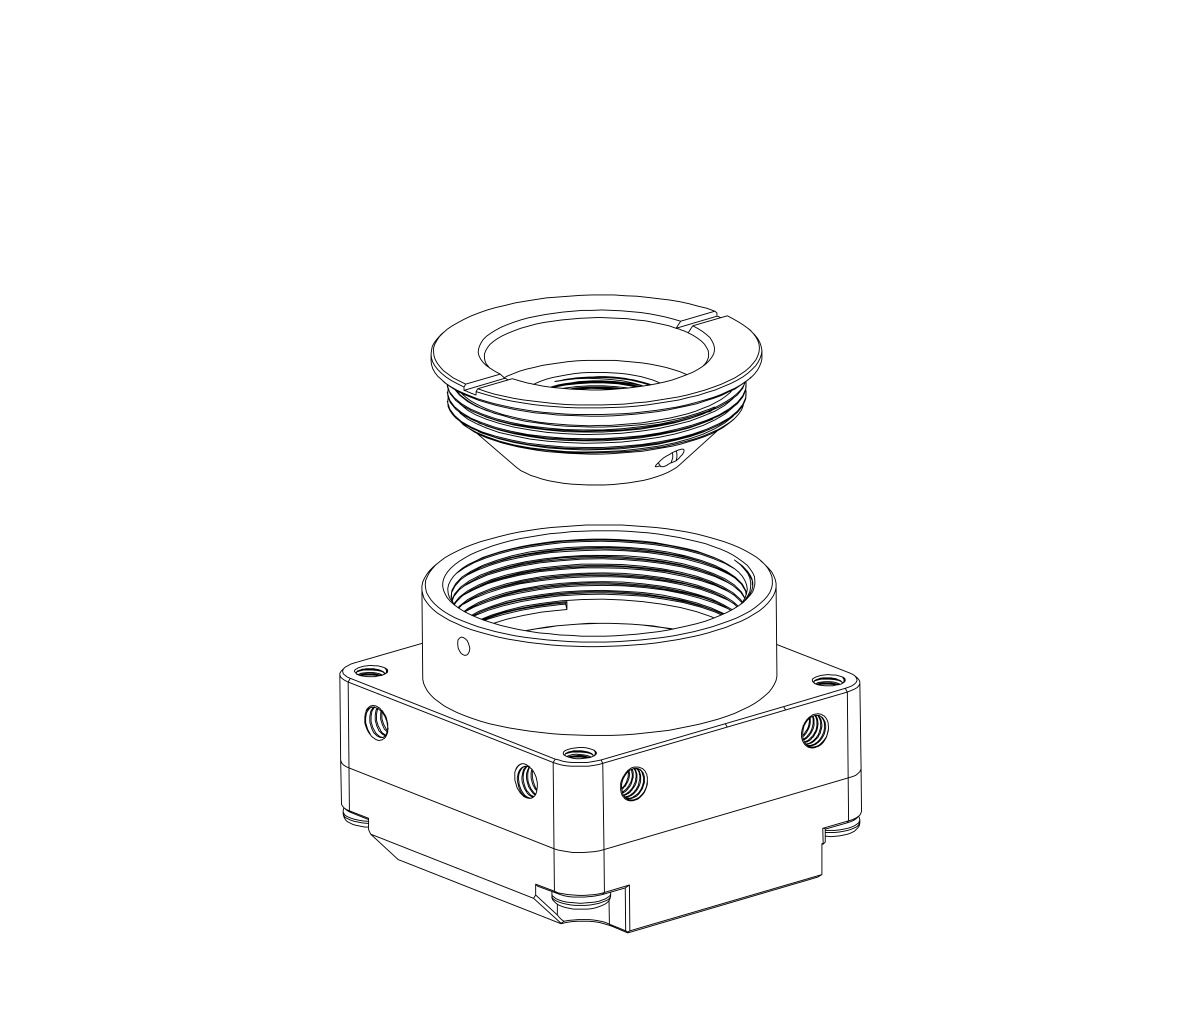](https://wiki.kurokesu.com/uploads/images/gallery/2022-01/m12-to-cs-300-01.png) | 1. Prepare M12 to CS lens adapter. |
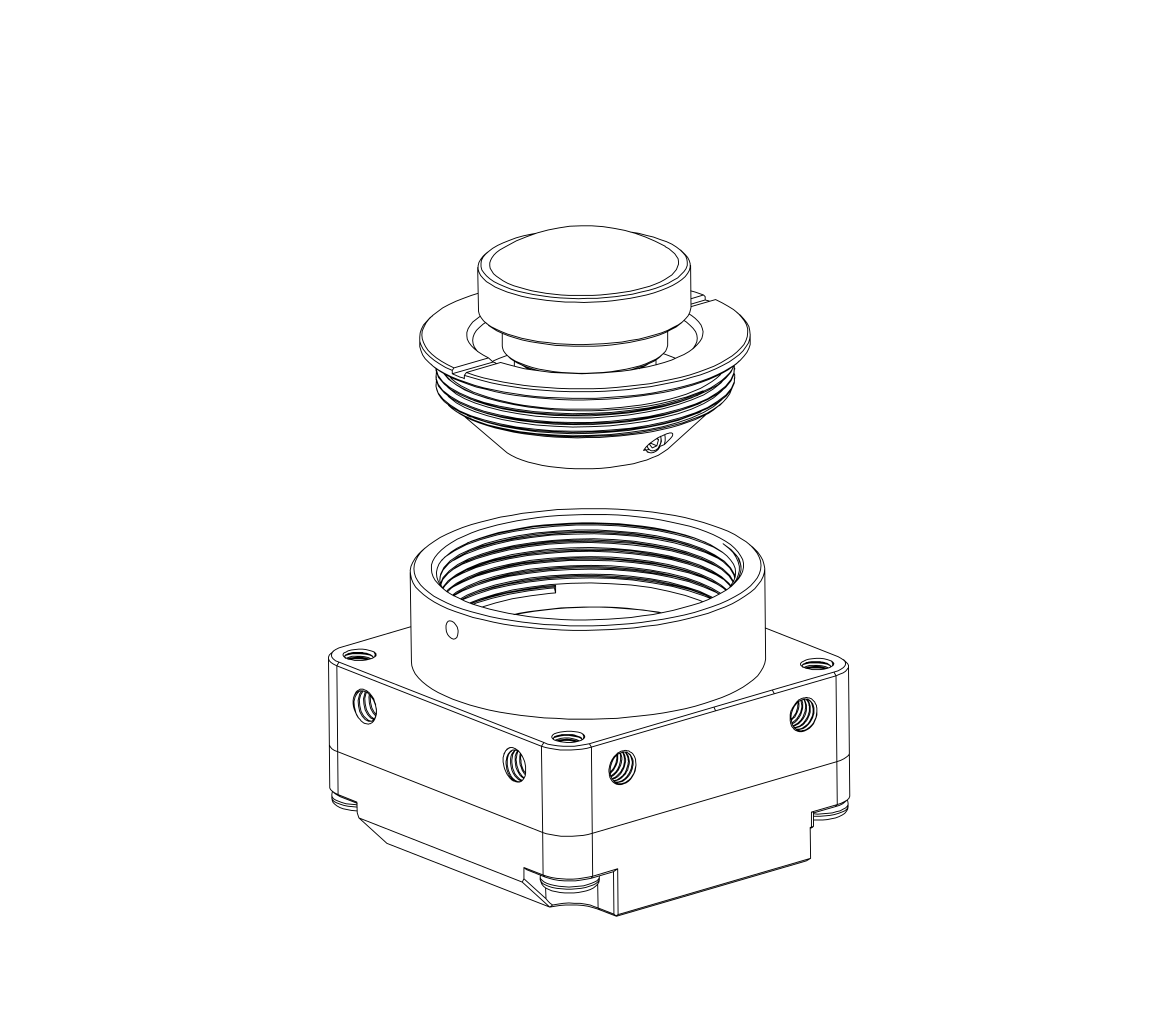
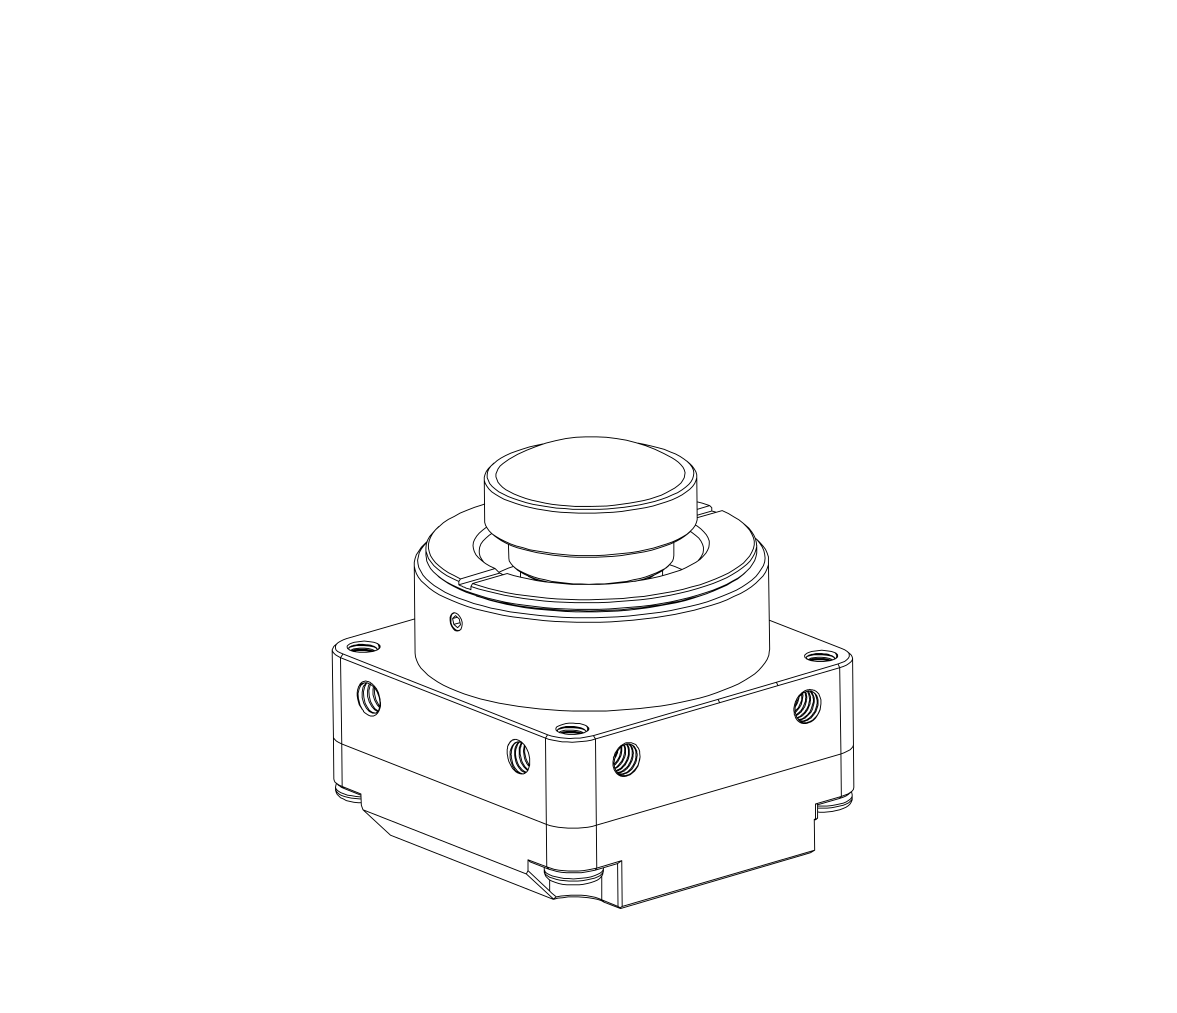
| [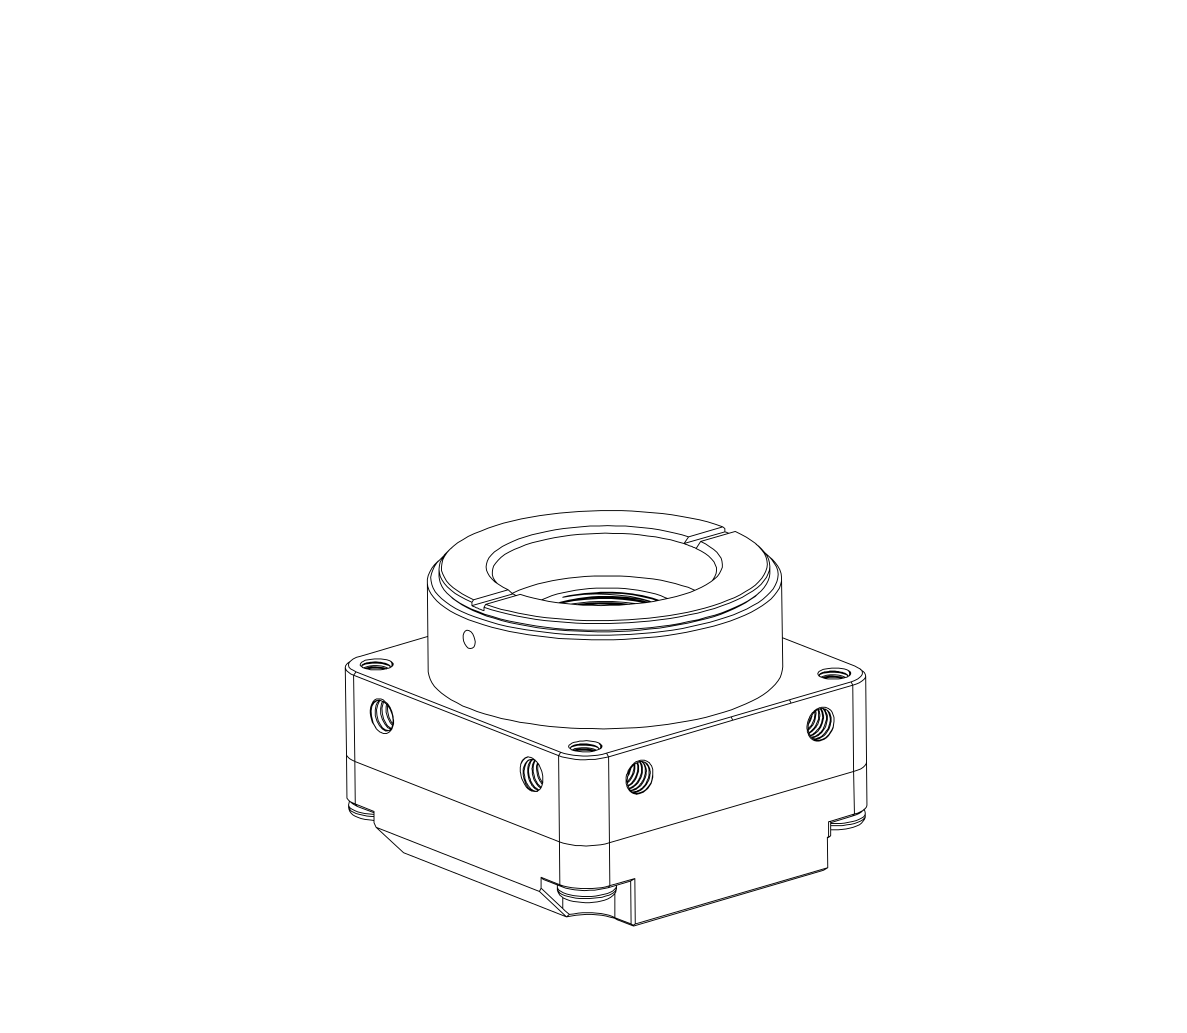](https://wiki.kurokesu.com/uploads/images/gallery/2022-01/m12-to-cs-300-02.png) | 2. Install adapter. |
| [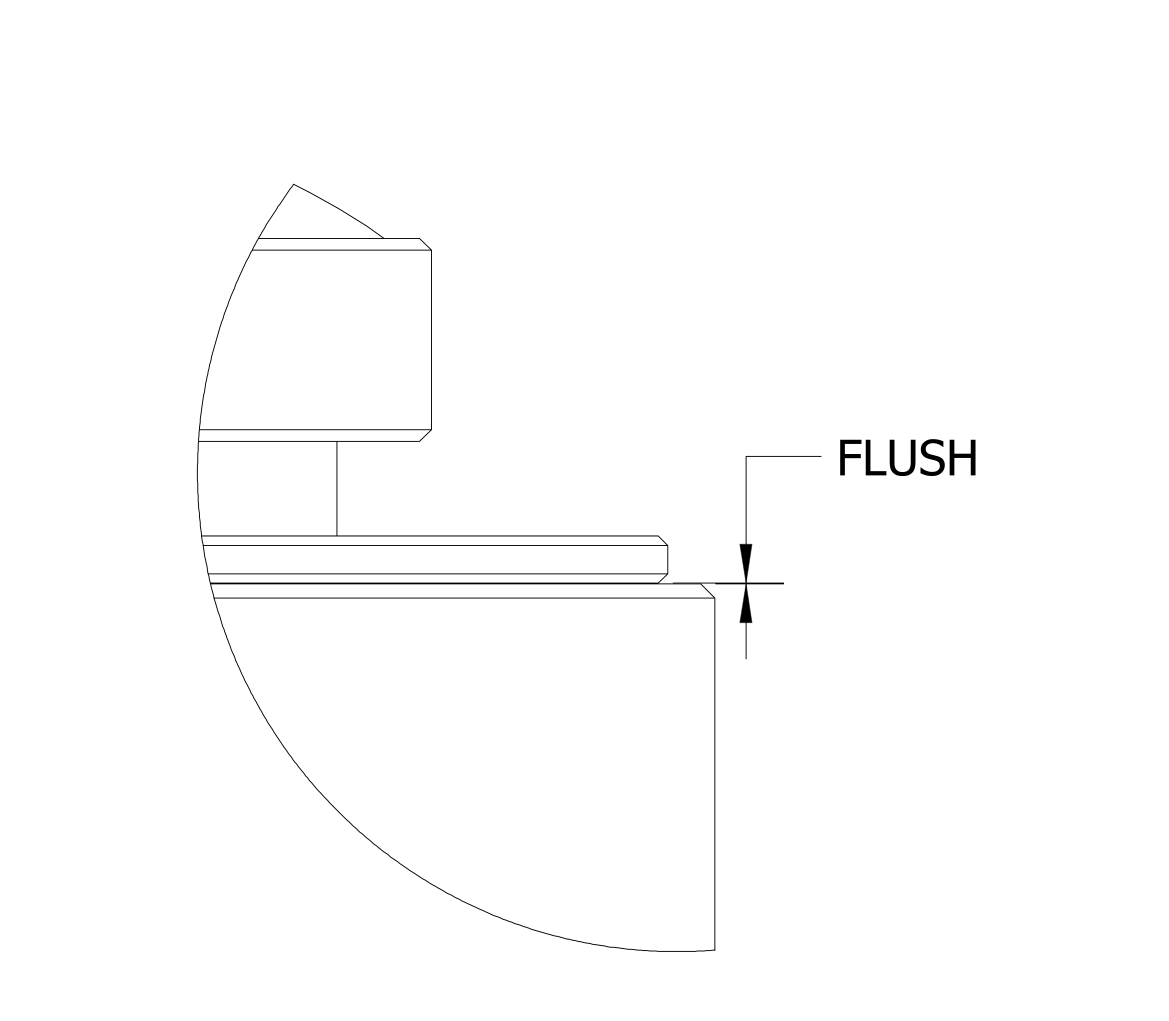](https://wiki.kurokesu.com/uploads/images/gallery/2022-01/m12-to-cs-300-11.png) | 3. Adapter should be flush with the camera flange. Do not tighten nor use the set screw yet. |
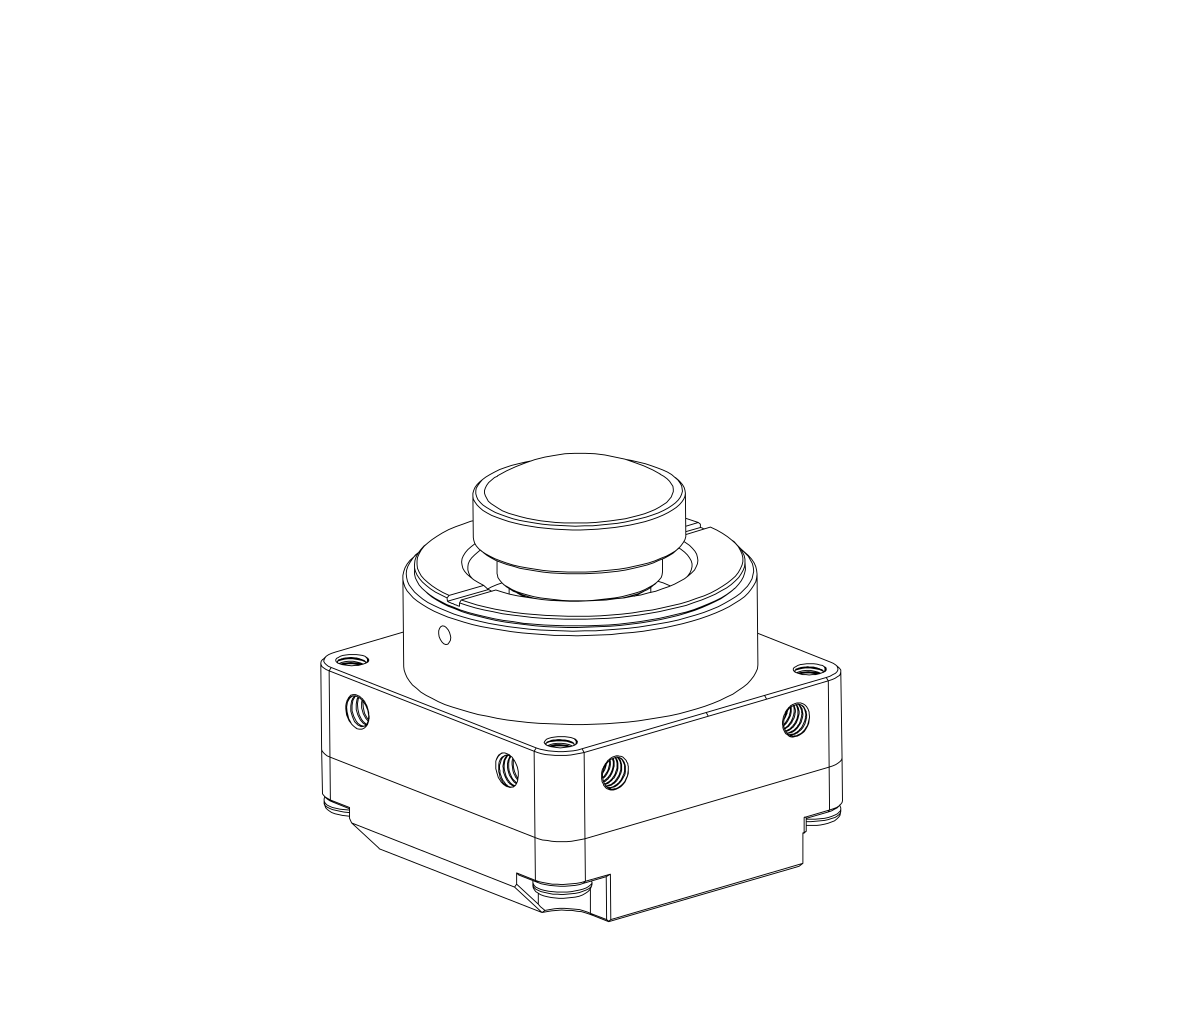
| [](https://wiki.kurokesu.com/uploads/images/gallery/2022-01/m12-to-cs-300-03.png) | 4. Prepare M12 lens. |
| [](https://wiki.kurokesu.com/uploads/images/gallery/2022-01/m12-to-cs-300-04.png) | 5. Connect the camera for live preview and install M12 lens. Adjust lens focus. |
| [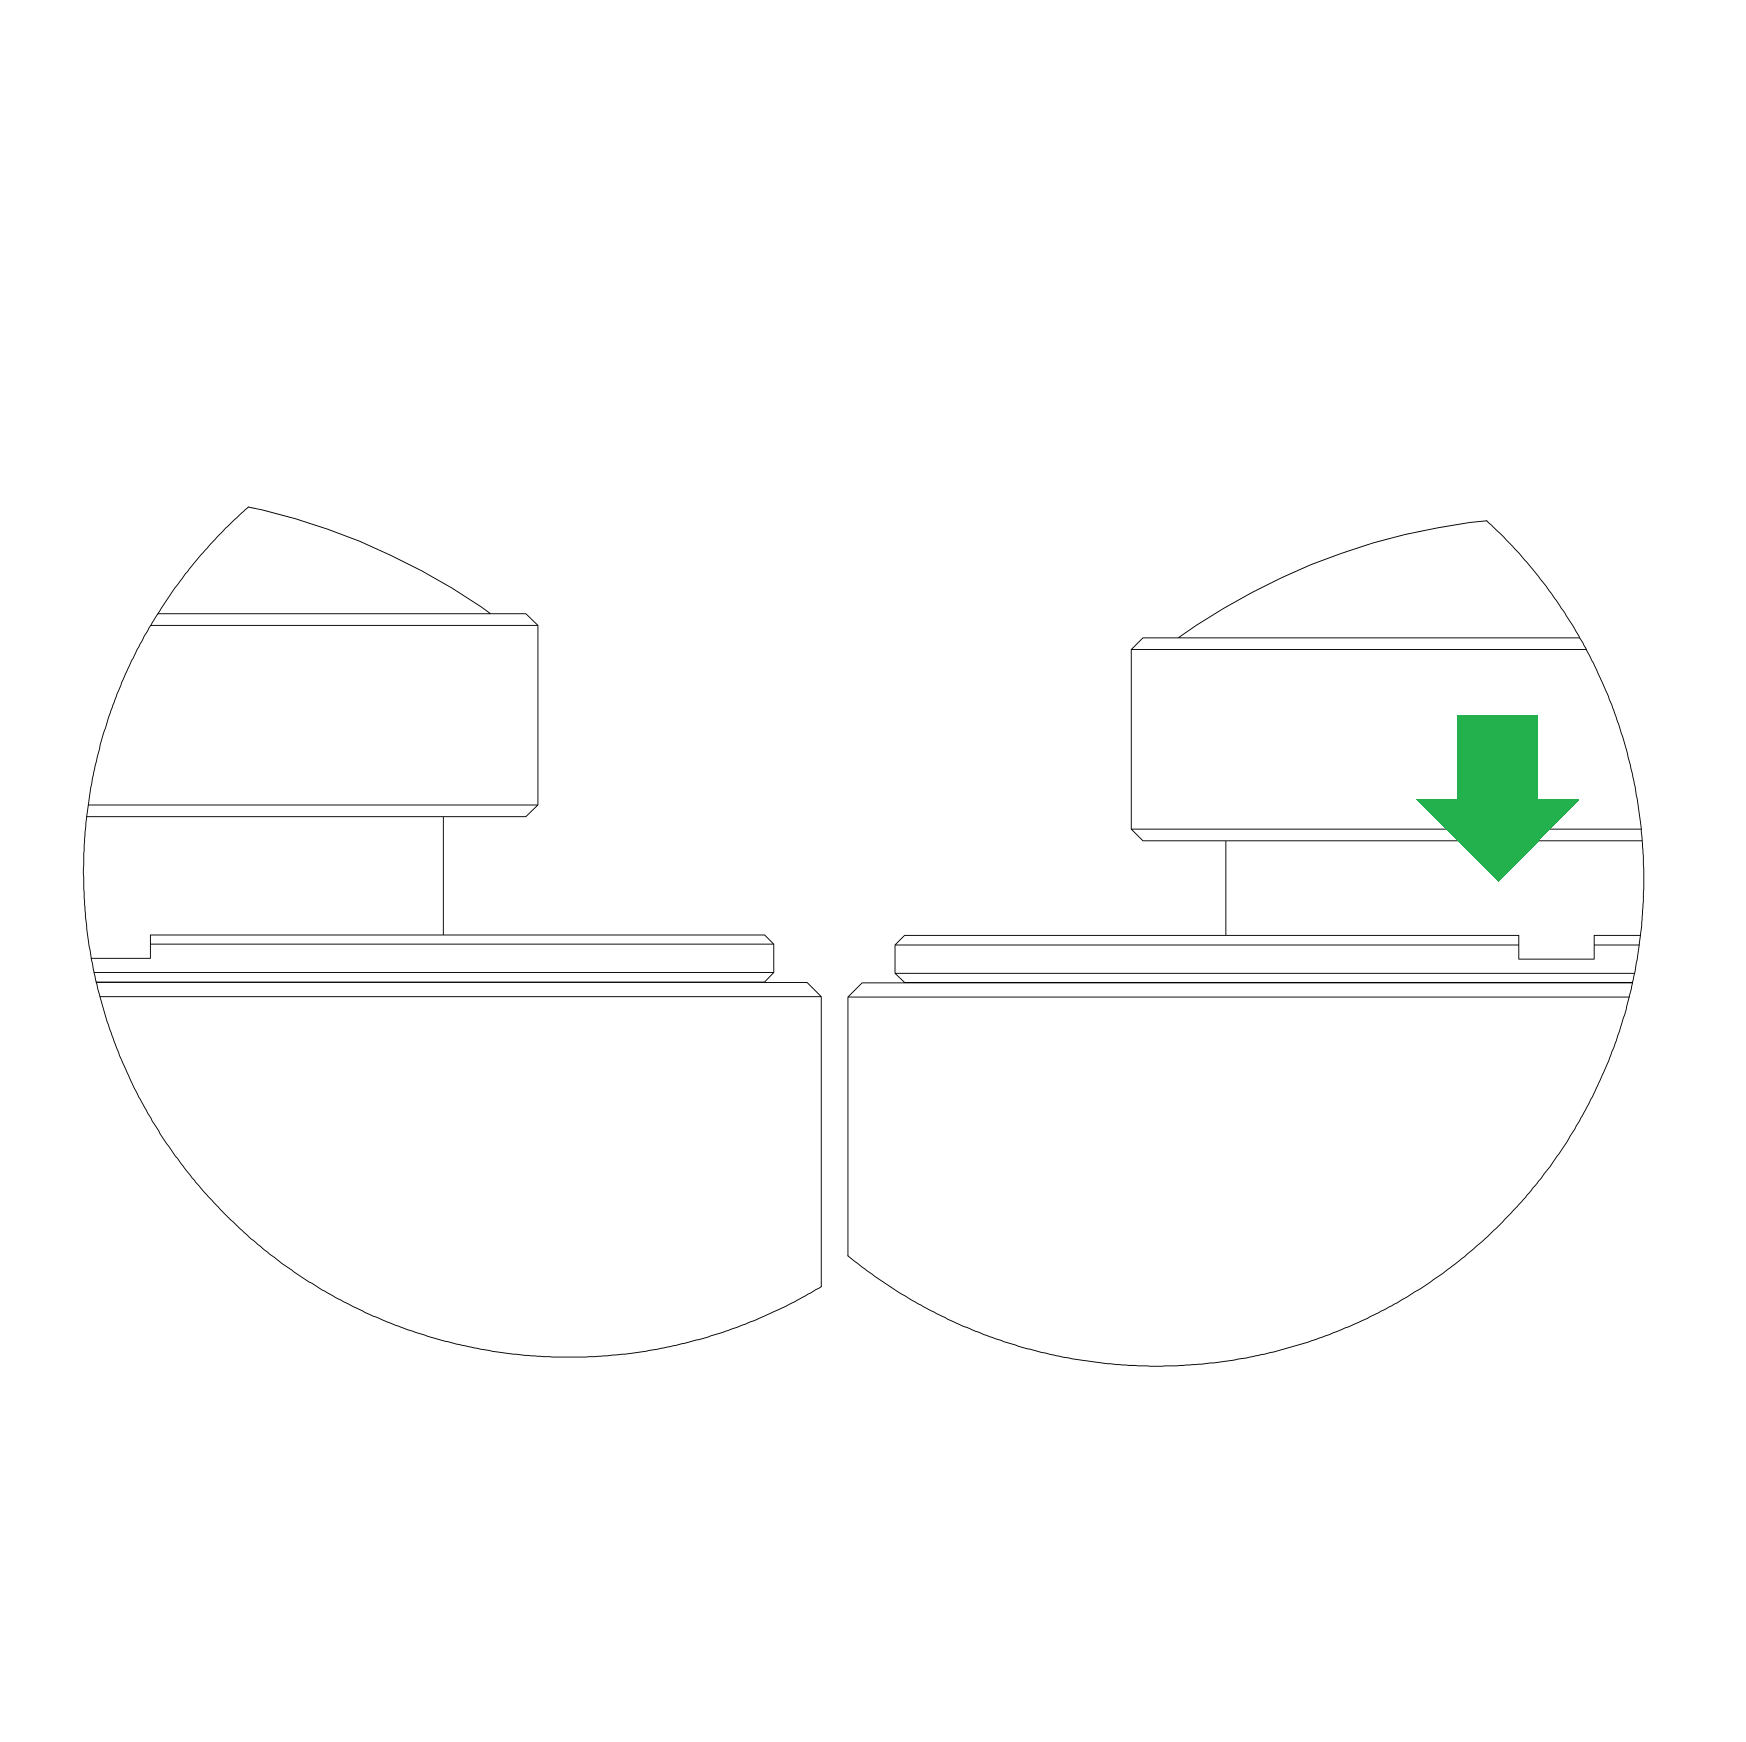](https://wiki.kurokesu.com/uploads/images/gallery/2022-01/m12-to-cs-300-14-2.png) | 6. Twist M12 lens half-turn (or a bit more) clockwise (deeper into the camera). This is an important step. In the final installation step, it will give some room for final focus adjustment. |
| [](https://wiki.kurokesu.com/uploads/images/gallery/2022-01/m12-to-cs-300-05.png) | 7. Unscrew the filter from the camera without touching the lens. |
| [](https://wiki.kurokesu.com/uploads/images/gallery/2022-01/m12-to-cs-300-06.png) | 8. Install and tighten set screw. |
| [](https://wiki.kurokesu.com/uploads/images/gallery/2022-01/m12-to-cs-300-07.png) | 9. Lens is now secured in the filter. |
| [](https://wiki.kurokesu.com/uploads/images/gallery/2022-01/m12-to-cs-300-08.png) | 10. Install lens with filter into the camera. |
| [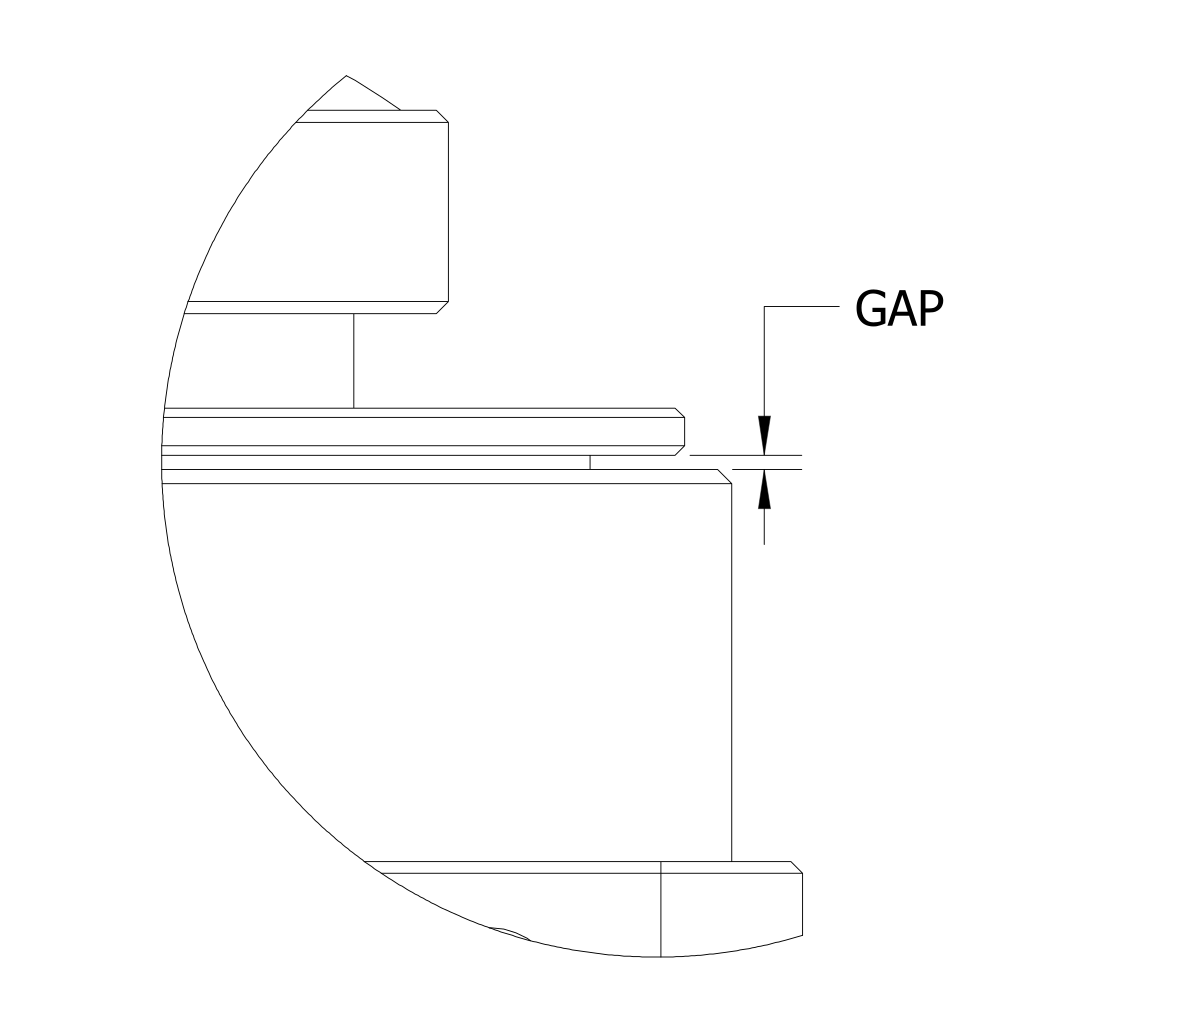](https://wiki.kurokesu.com/uploads/images/gallery/2022-01/m12-to-cs-300-12.png) | 11. Small gap should be left for focus adjustment. |
| [](https://wiki.kurokesu.com/uploads/images/gallery/2022-01/m12-to-cs-300-09.png) | 12. Install set screw while verifying sharp focus on camera live preview software. |
| [](https://wiki.kurokesu.com/uploads/images/gallery/2022-01/m12-to-cs-300-10.png) | 13. Lens is secured and ready for use. |