Using with Raspberry Pi
Raspberry Pi CM4 compute module
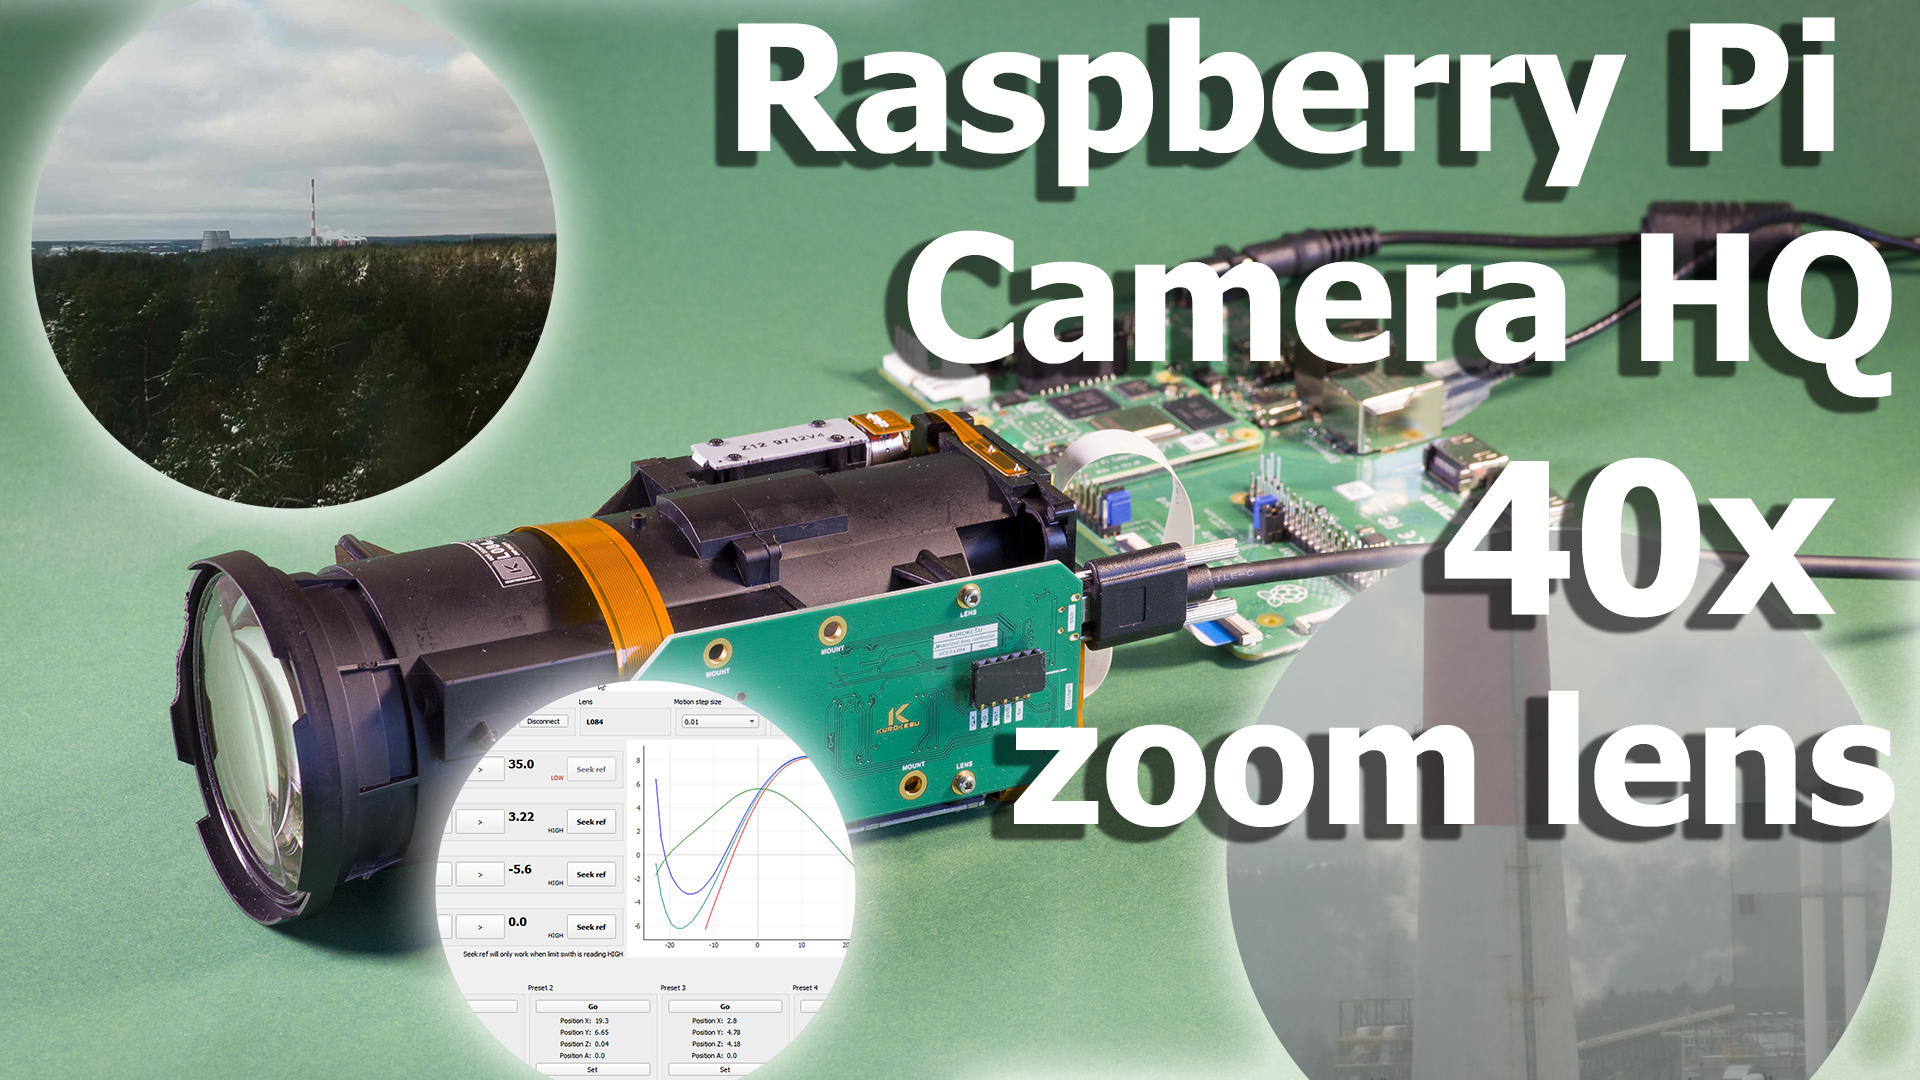
Quick guide how to use camera module with Raspberry Pi compute module and IO board. Raspberry Pi software is in active development thus changes fairly quickly. We will touch preparation procedure very briefly.
Only compute modules support cameras without crypto chip.
Prepare board
- Fit jumpers J2 - disable EMMC boot
- Fit jumpers J6 - enable CAM0, DISP0
- Connect camera co CAM1 port

Install OS
- Install rpiboot
- Start rpiboot
- Use rpi-imager to flash OS
Boot
- Remove J2 jumper - disable EMMC boot
- Scan for IP on local network
- Connect monitor and keyboard, finish setup
- Expand system
Prepare camera
- Setup single camera mode
sudo wget https://datasheets.raspberrypi.org/cmio/dt-blob-cam1.bin -O /boot/dt-blob.bin
sudo reboot- Check if camera is detected after reboot
vcgencmd get_cameraRecipe #1 - show video in console as ASCII text
raspivid -t 0 -o - | gst-launch-1.0 fdsrc ! h264parse ! rtph264pay config-interval=1 pt=96 ! decodebin ! videoconvert ! aasinkRecipe #2 - stream video over network
- Start streaming on Raspberry Pi
raspivid -o - -t 9999999 |cvlc -vvv stream:///dev/stdin --sout '#rtp{sdp=rtsp://:8554/}' :demux=h264- Start client on Windows computer (change Raspberry Pi IP address to match your setup)
set PATH=C:\gstreamer\1.0_1.18.3\bin\;C:\gstreamer\1.0_1.18.3\lib\gstreamer-1.0\;C:\gstreamer\1.0_1.18.4\libexec\gstreamer-1.0\
gst-launch-1.0 rtspsrc location=rtsp://192.168.0.86:8554/ latency=10 ! decodebin ! timeoverlay ! videoscale ! videoscale ! video/x-raw,width=1280,height=720 ! autovideosink
Demo video with 40x motorized zoom lens
For more details check blog post